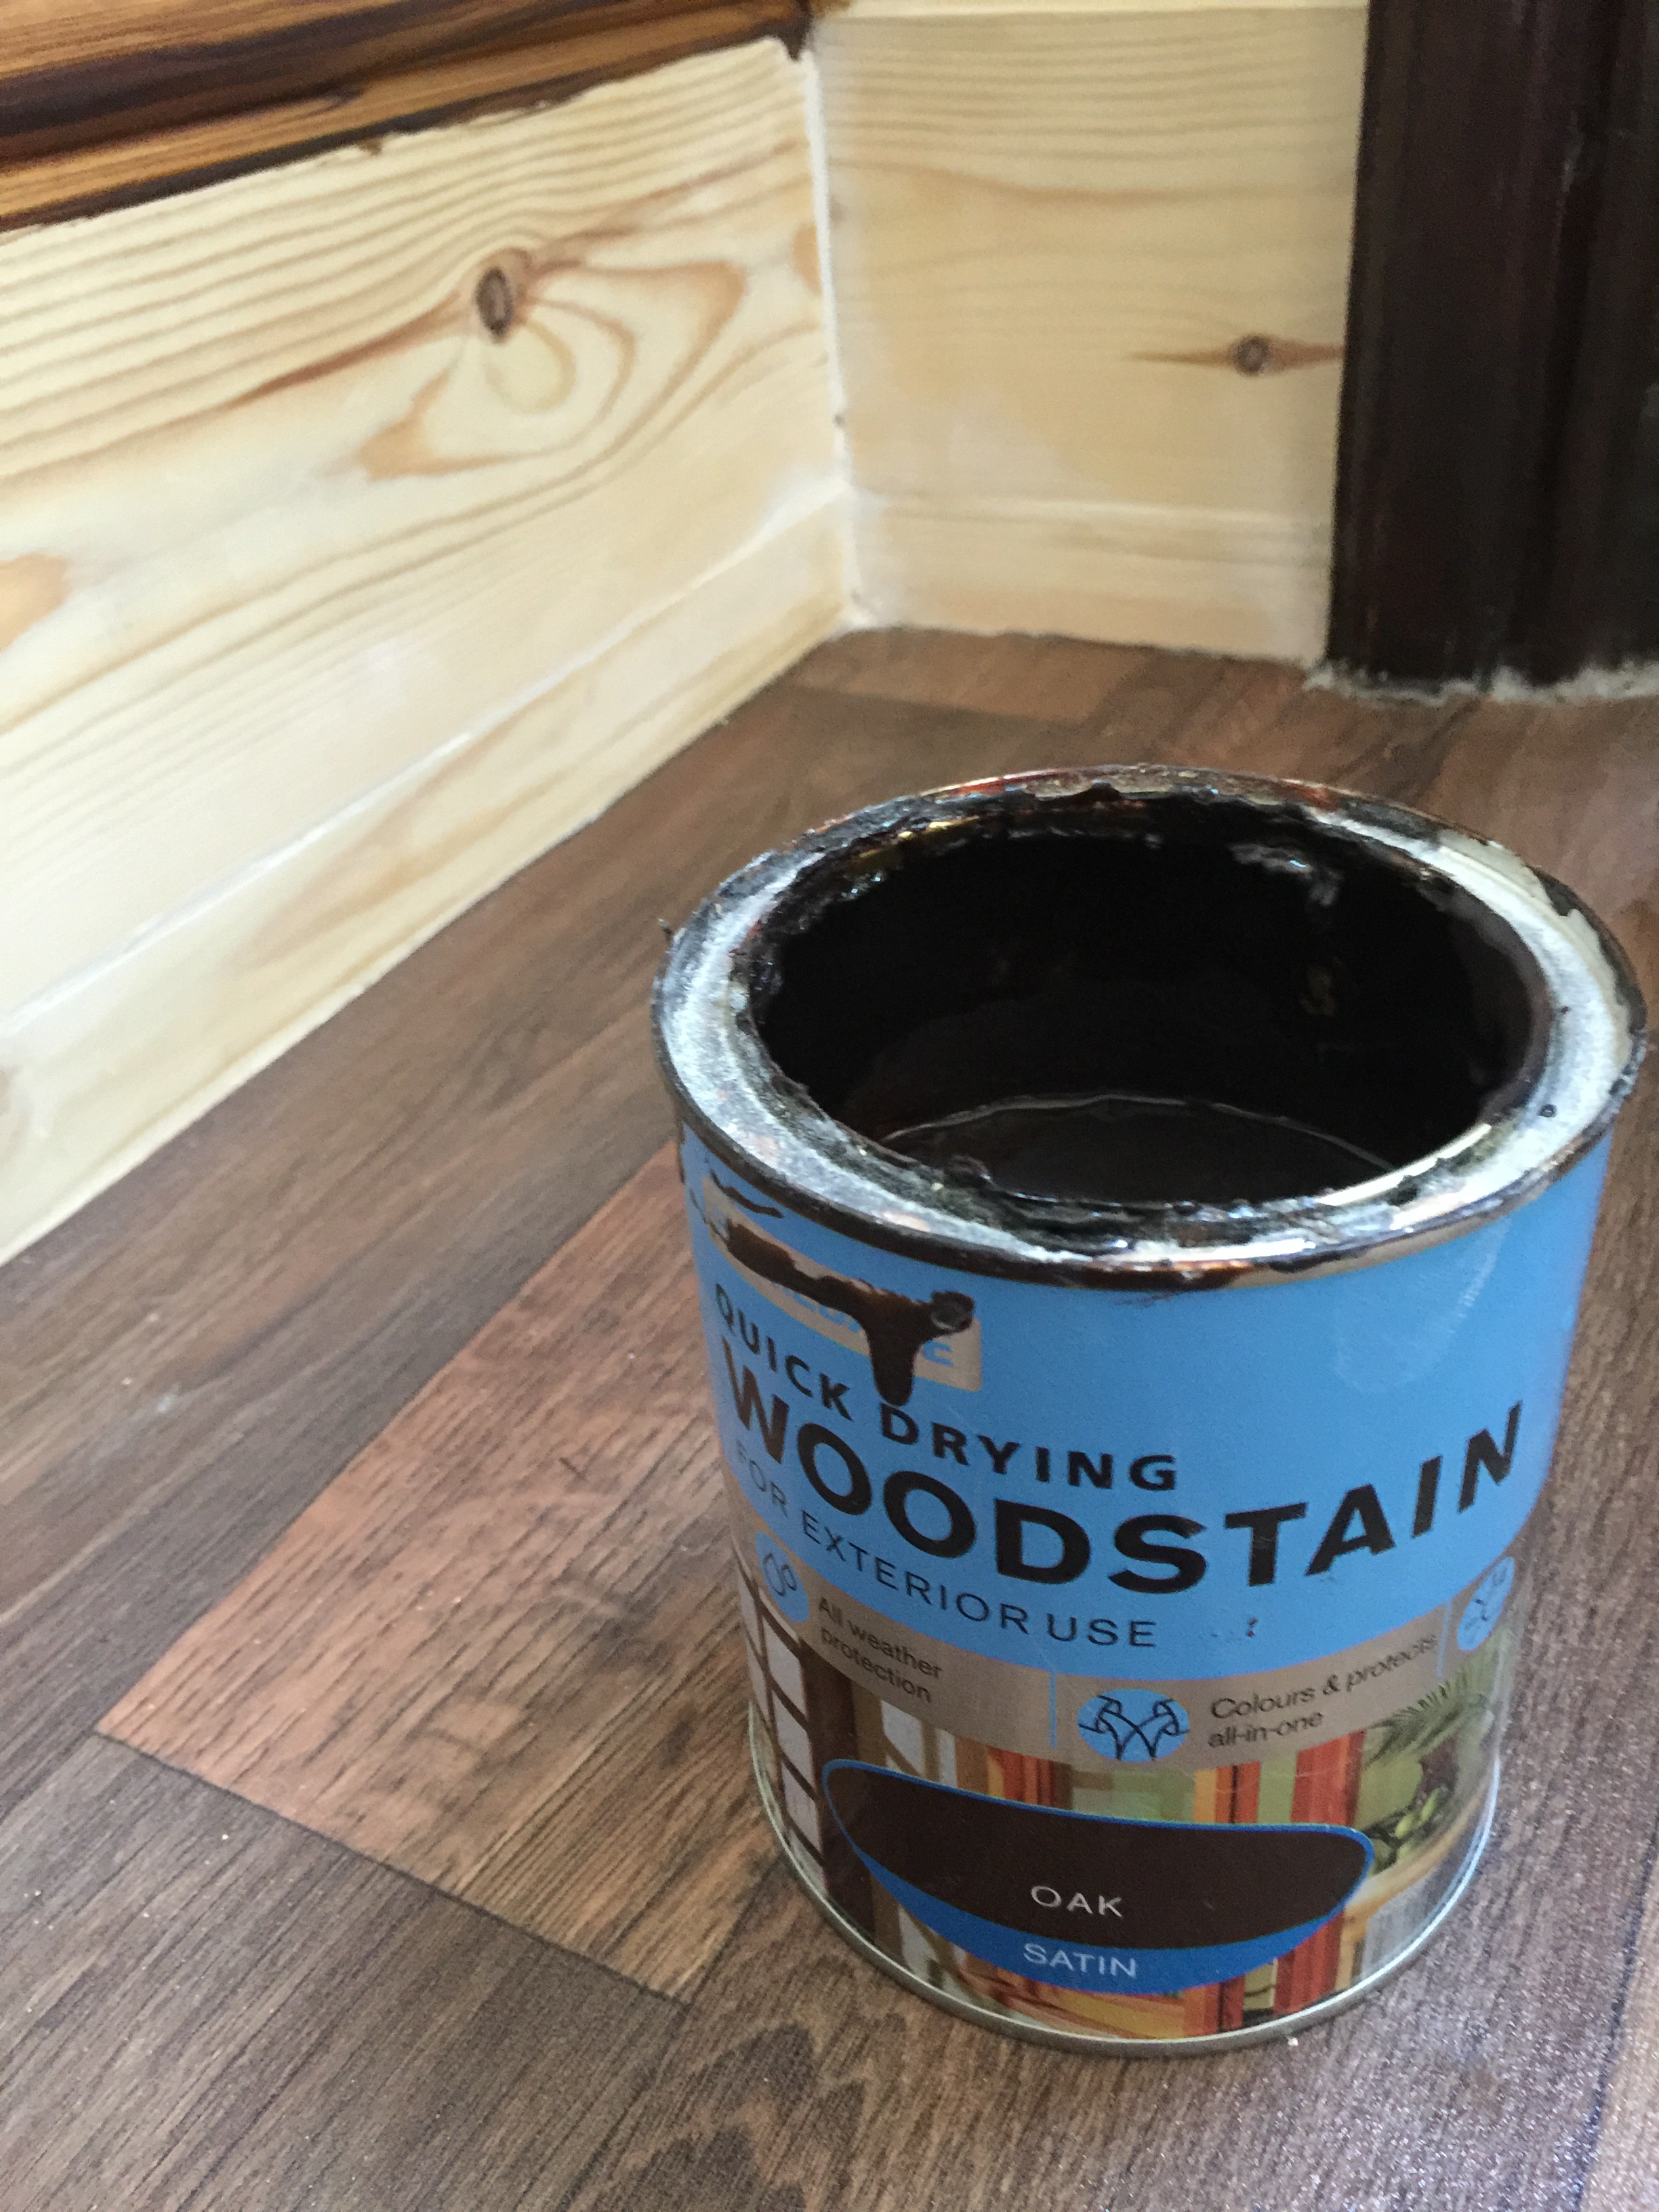
Yes, more Restoration Secrets.. this time it's Homebase Oak Woodstain! I use it regularly to glam-up timber stairways, skirtings and architraves if I want a slightly more 'grand' feel to a room or common area. Acrylic woodstains like this are great products as they dry very quickly, and you can easily get a few coats on in a short space of time - and of course being water based it's simple to mop up spills or clean out brushes.
My big secret is that woodstain can actually be used on many different surfaces - not just timber - and it's particularly good at creating stunning finishes on brickwork, stone or terracota - inside or outside.
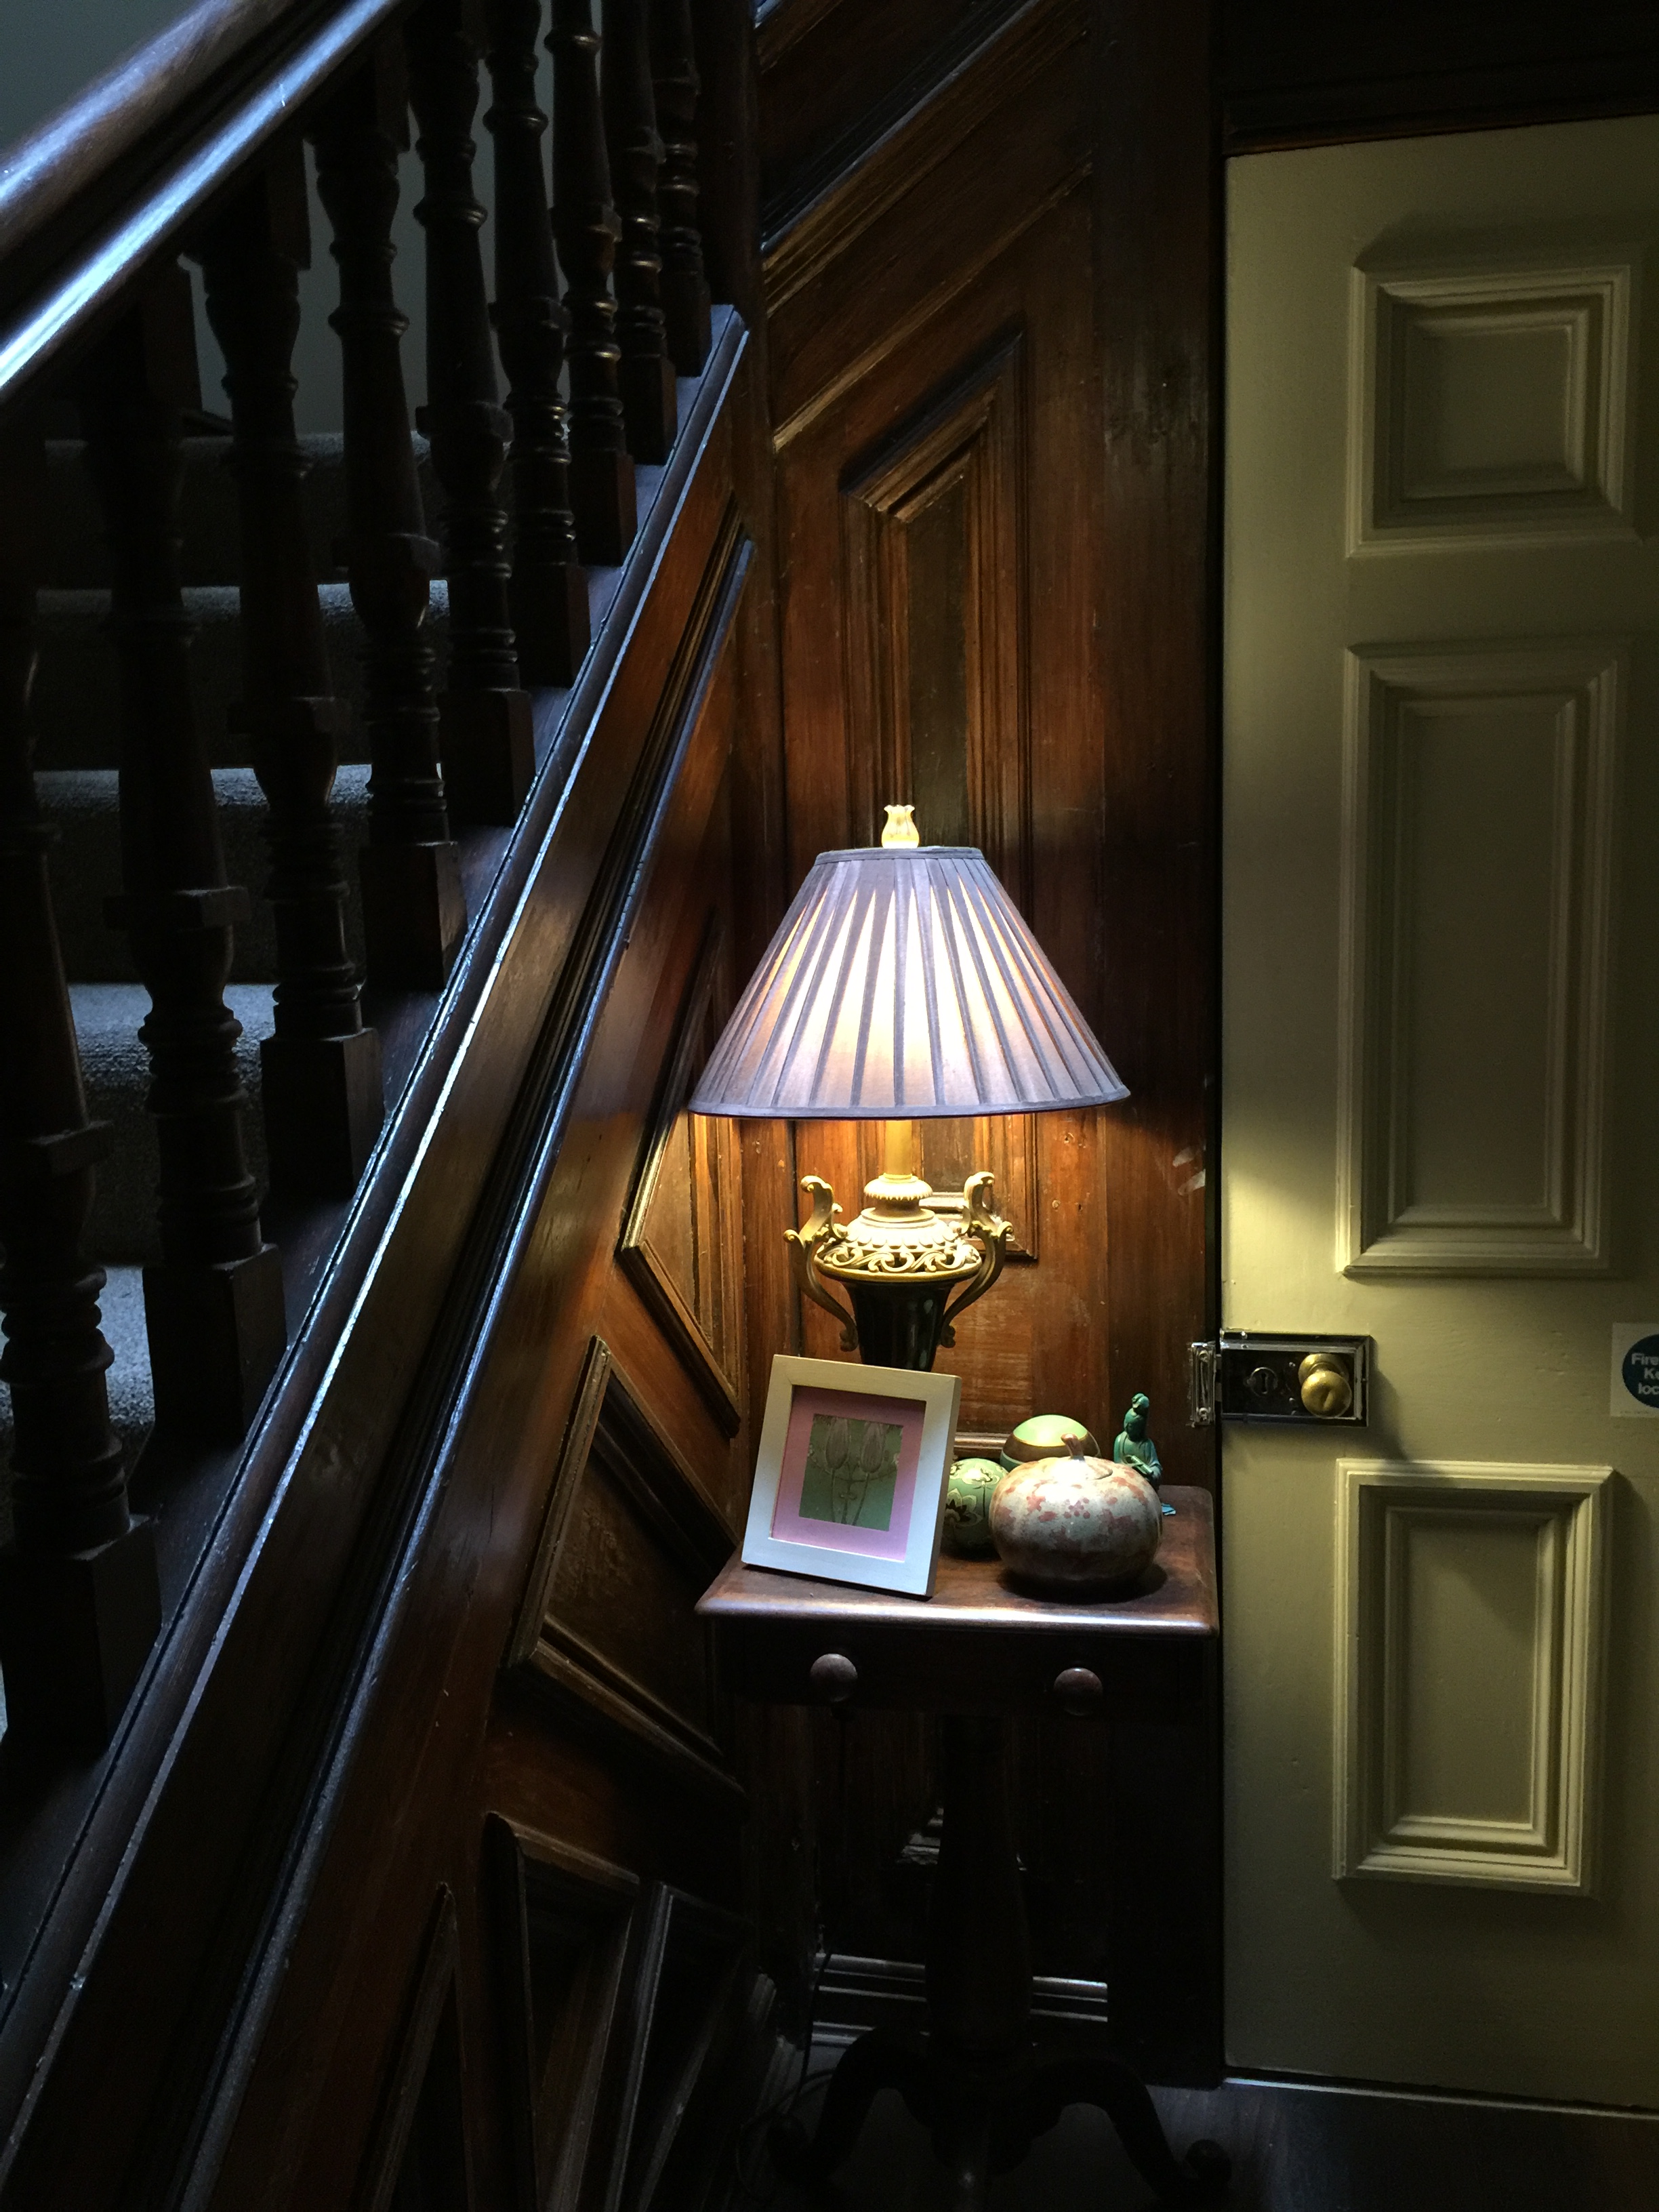
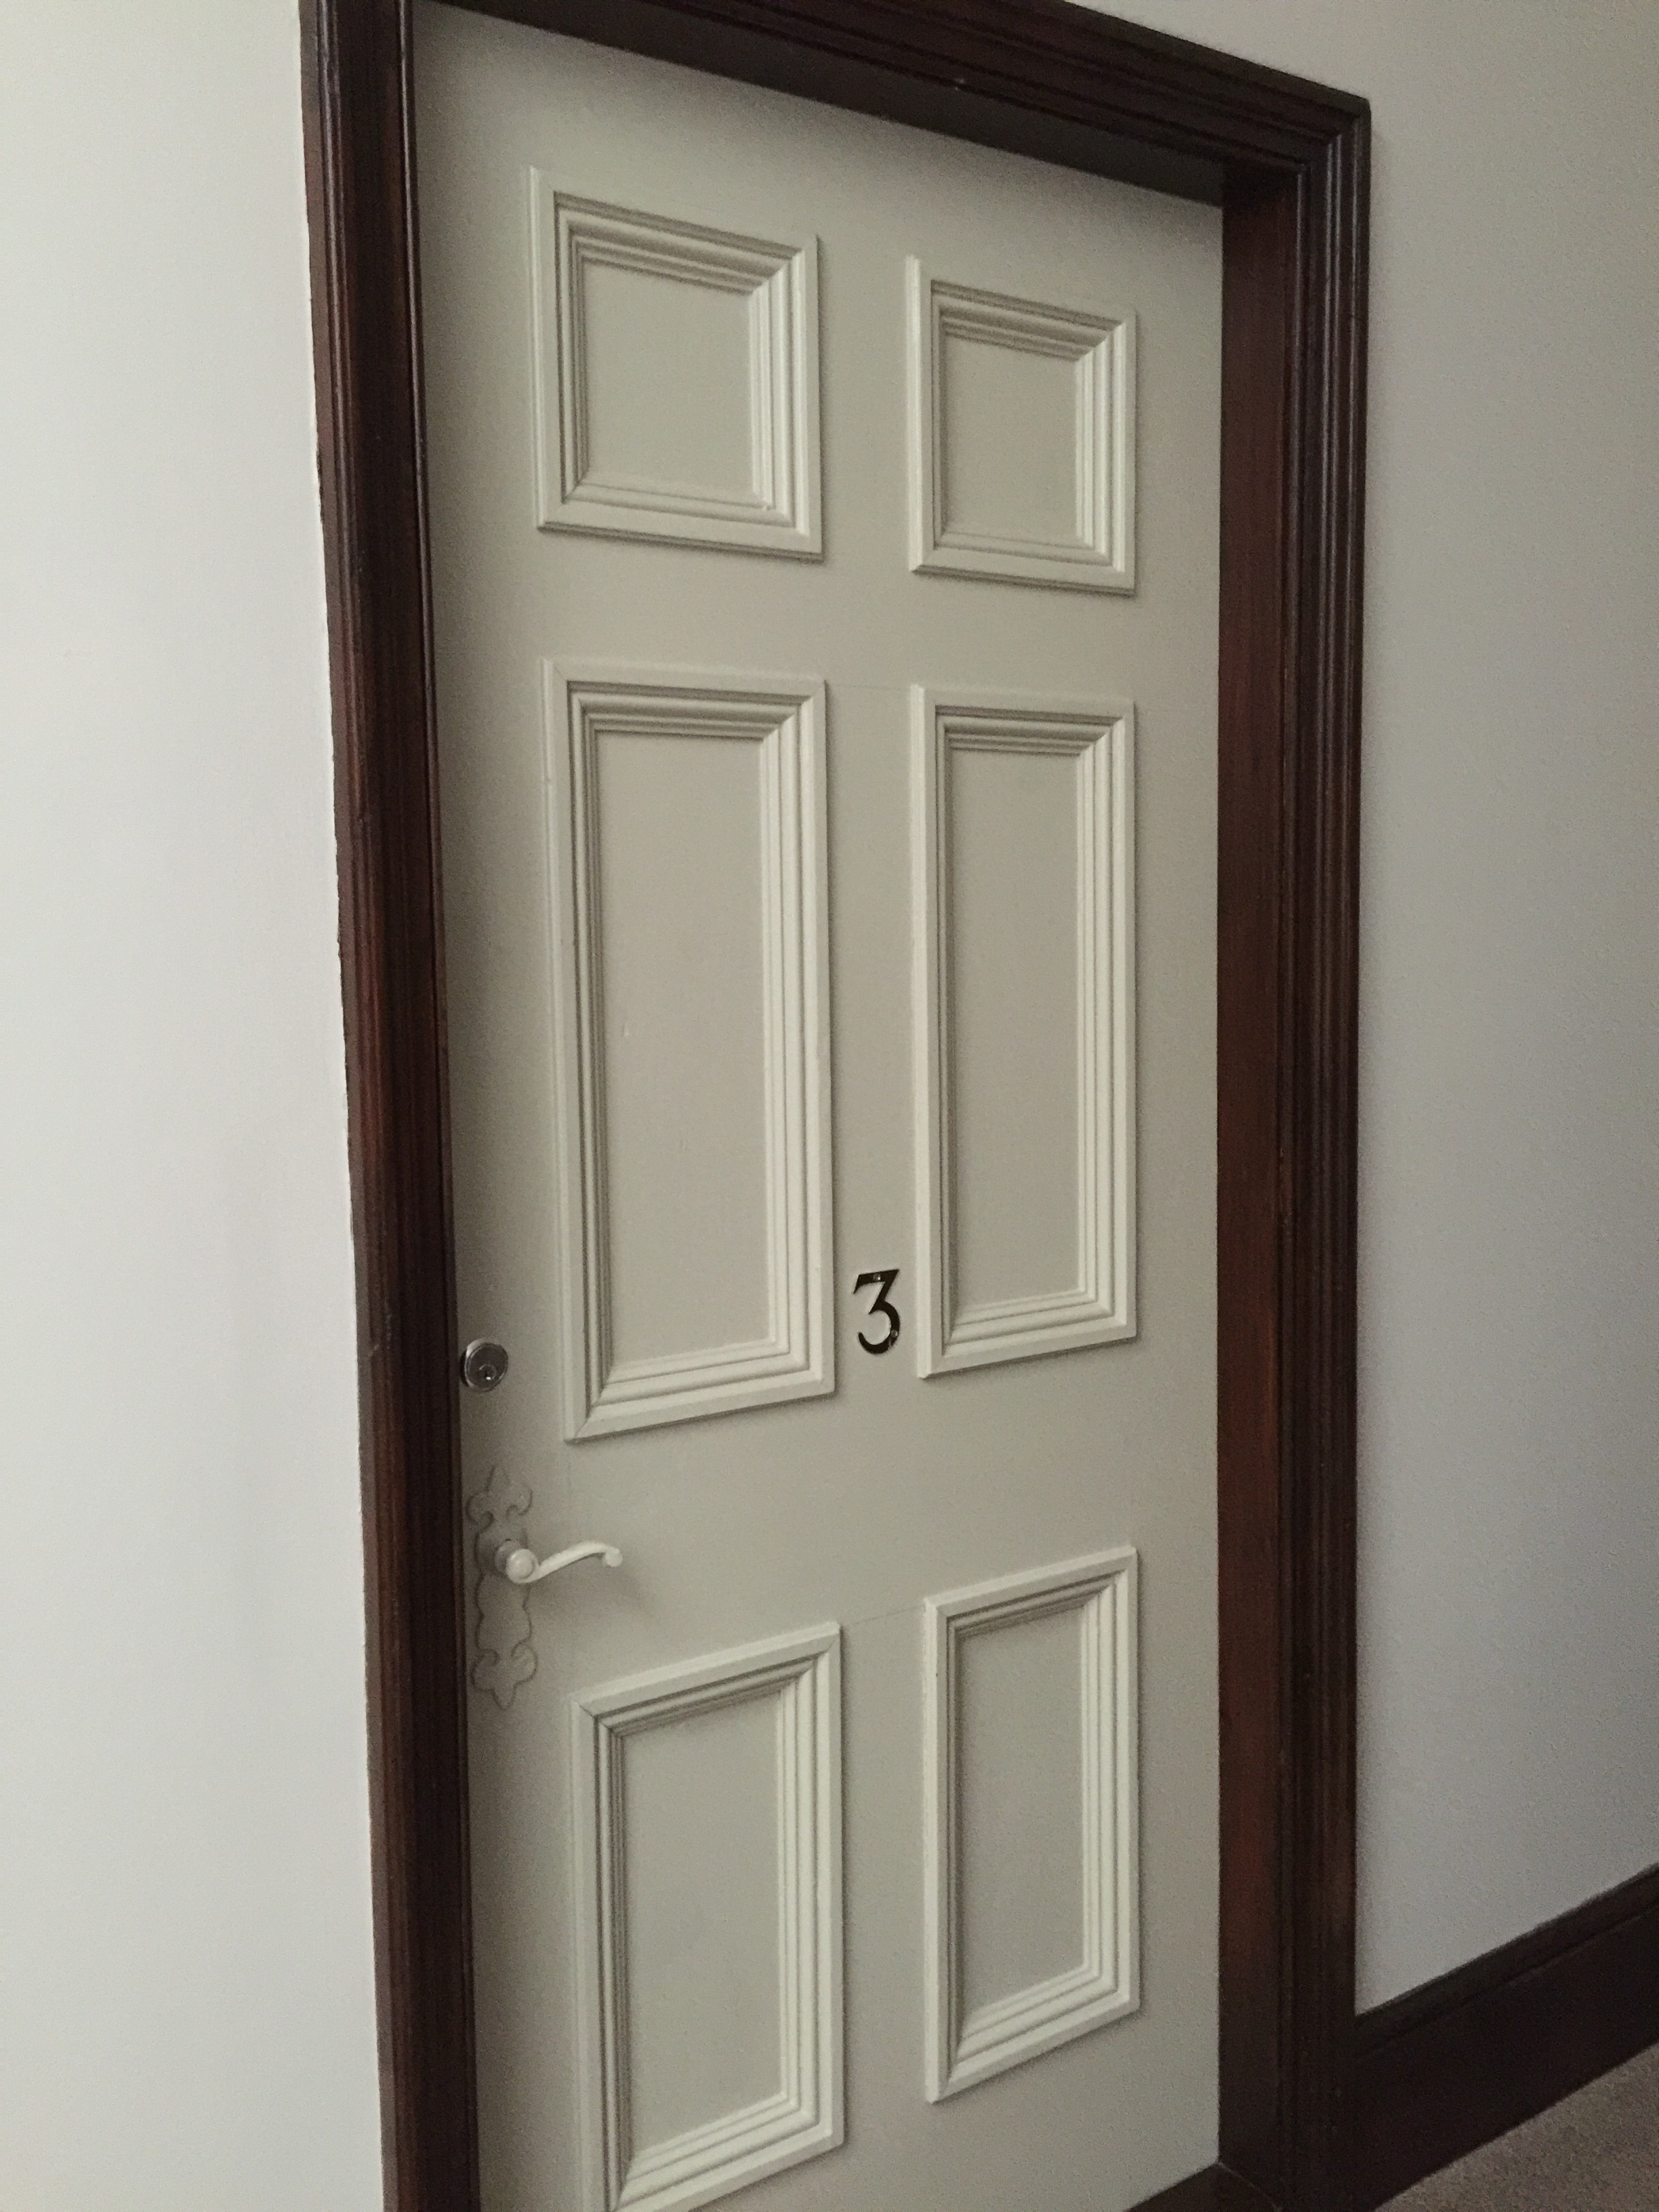
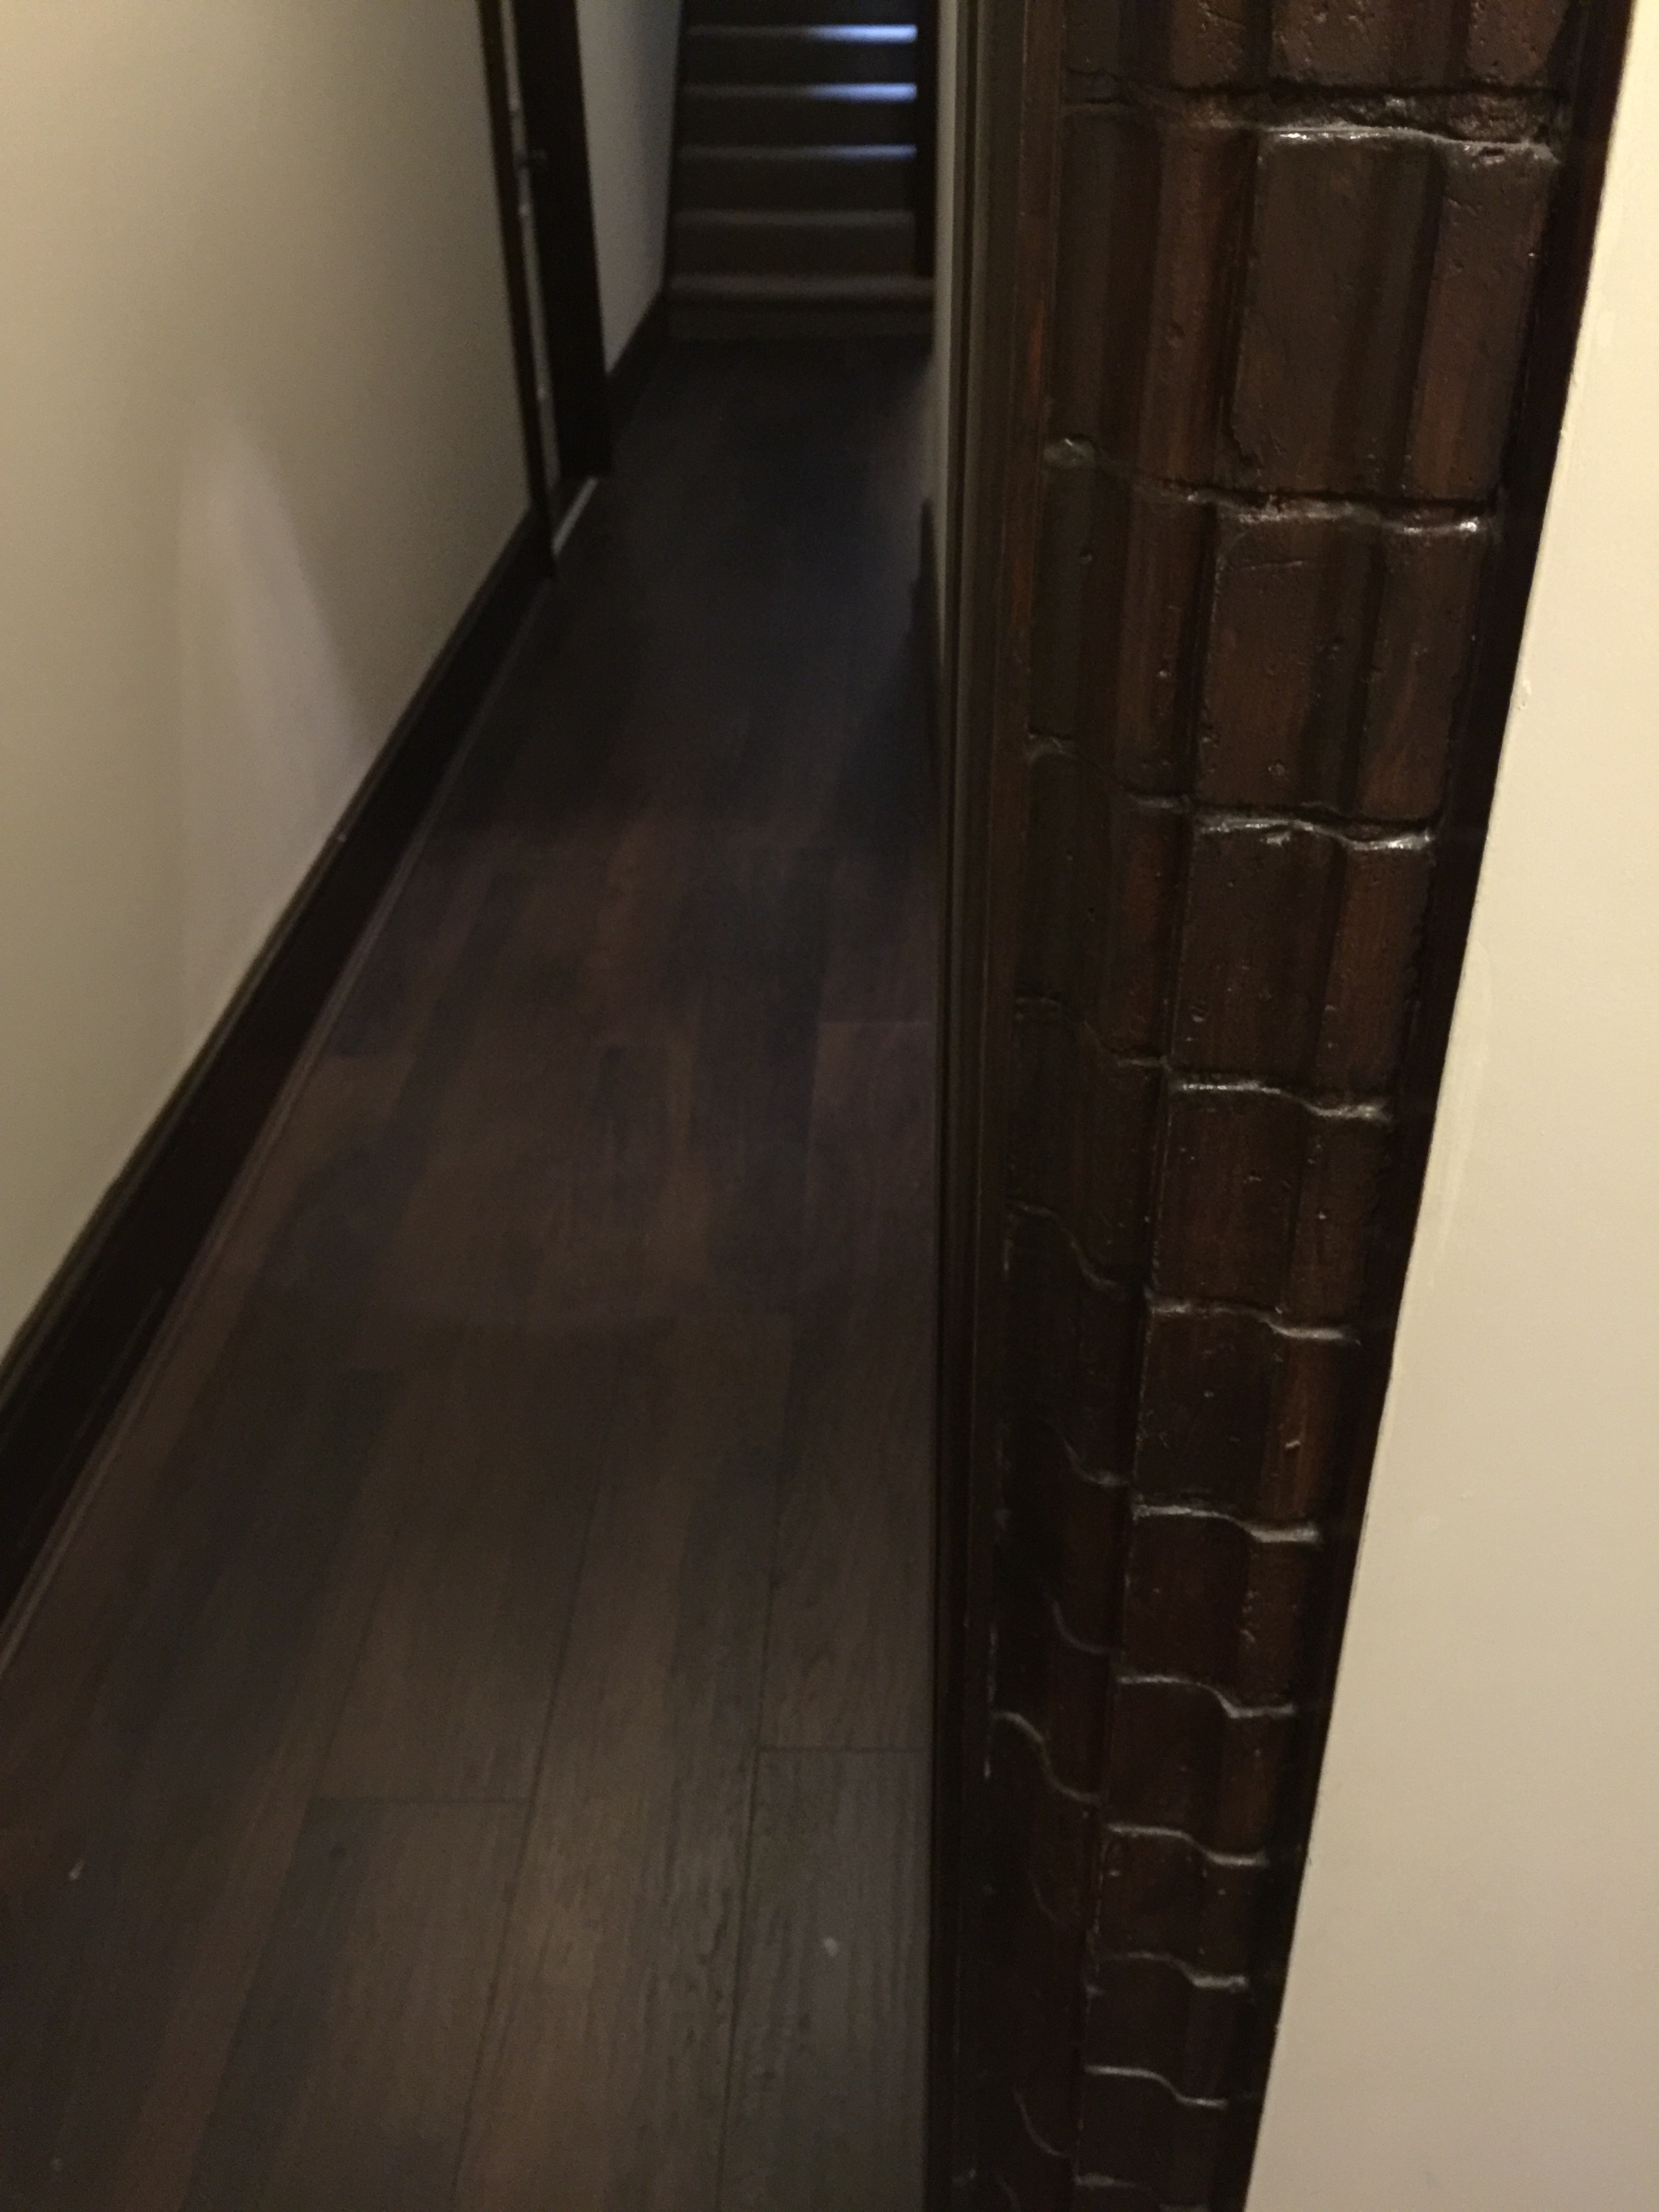
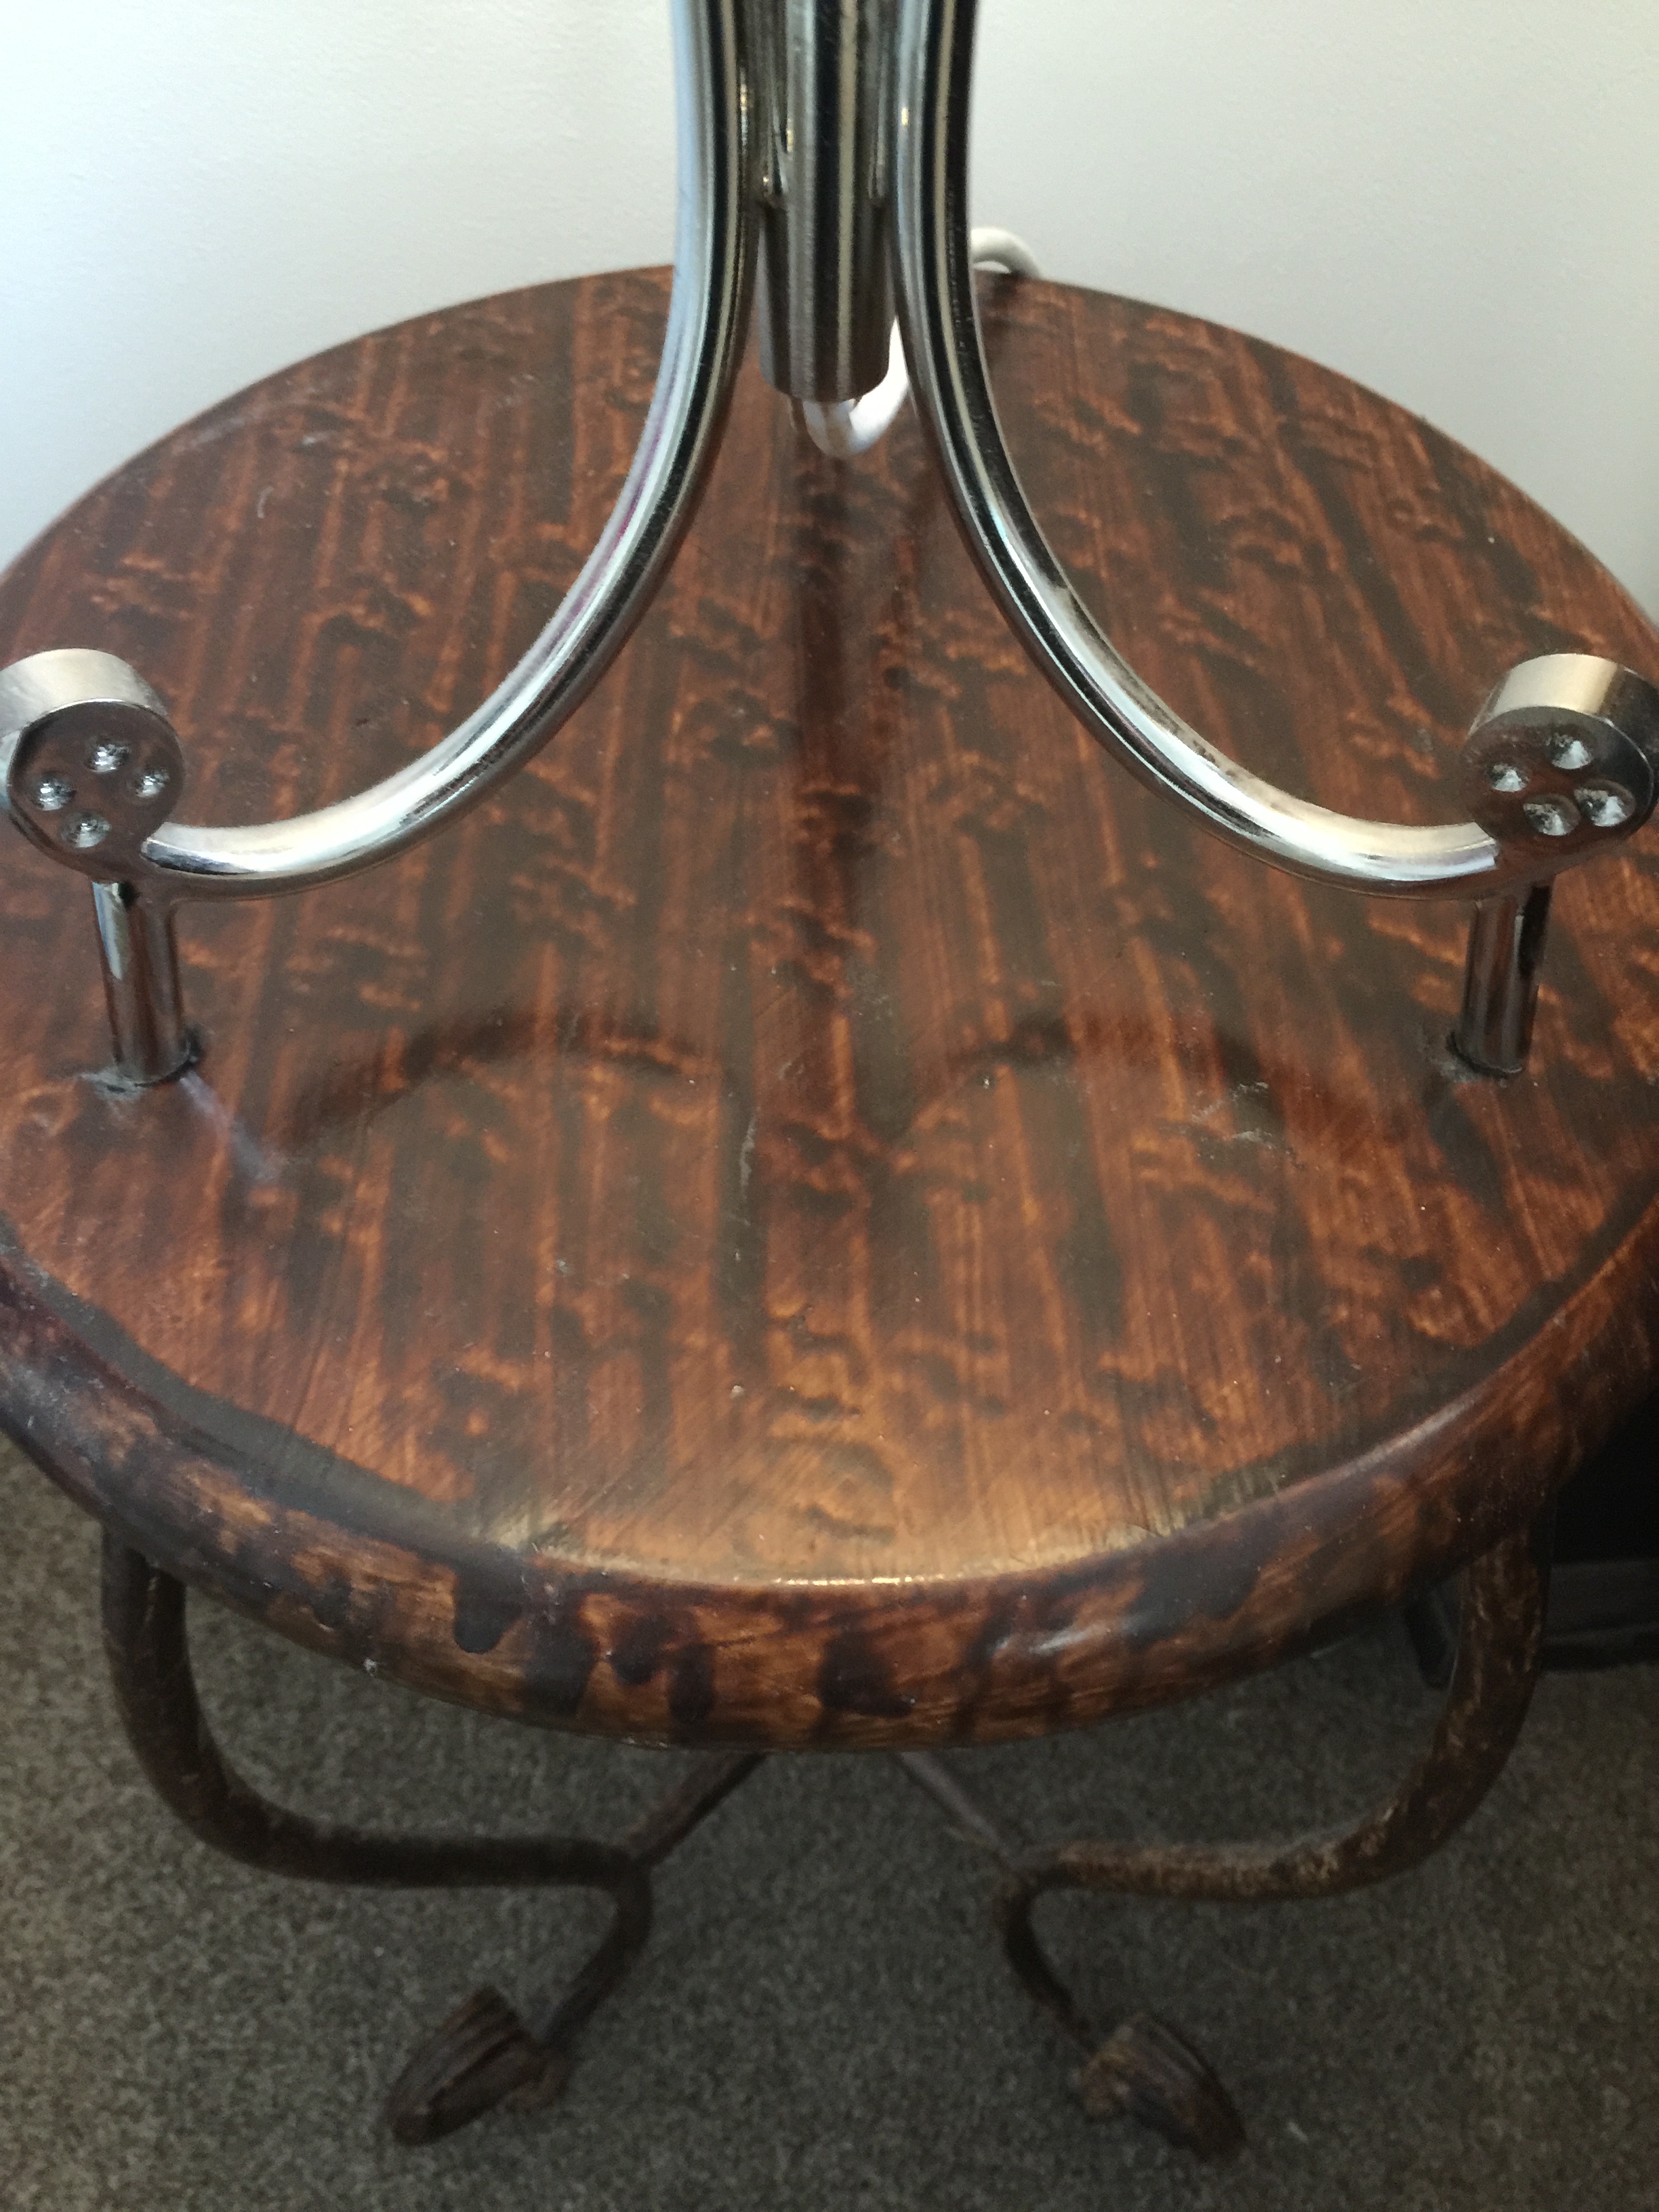
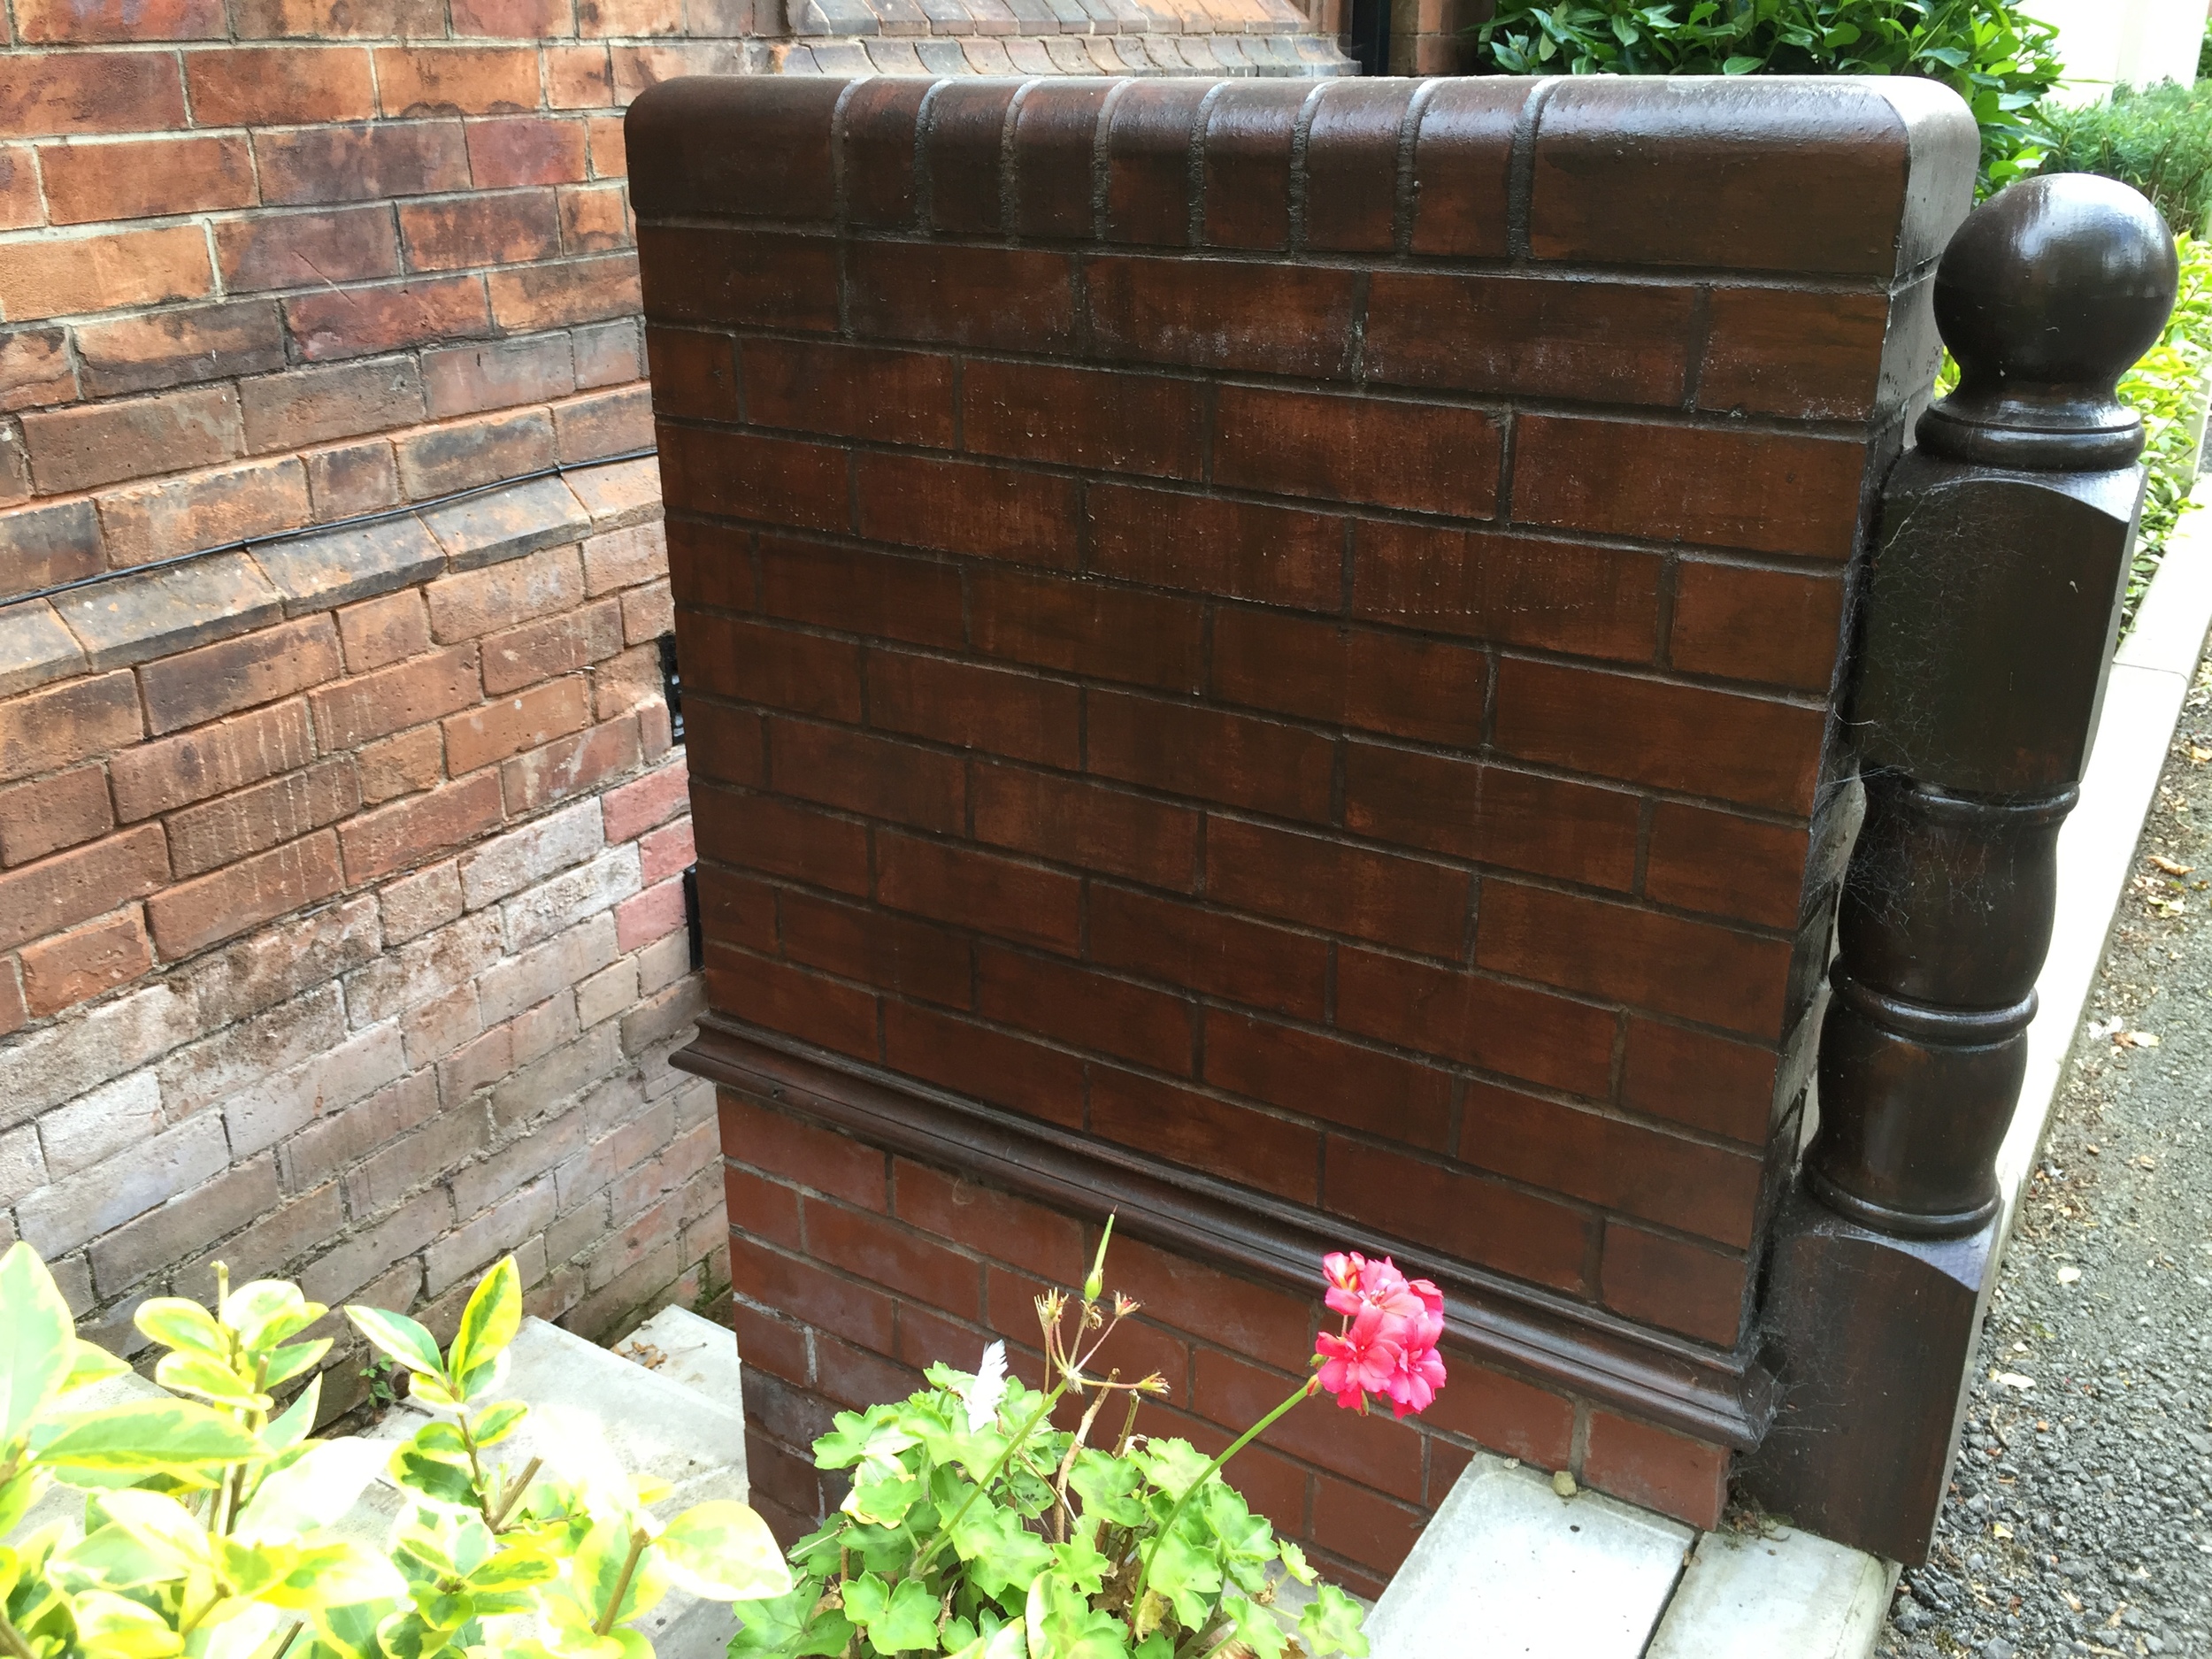

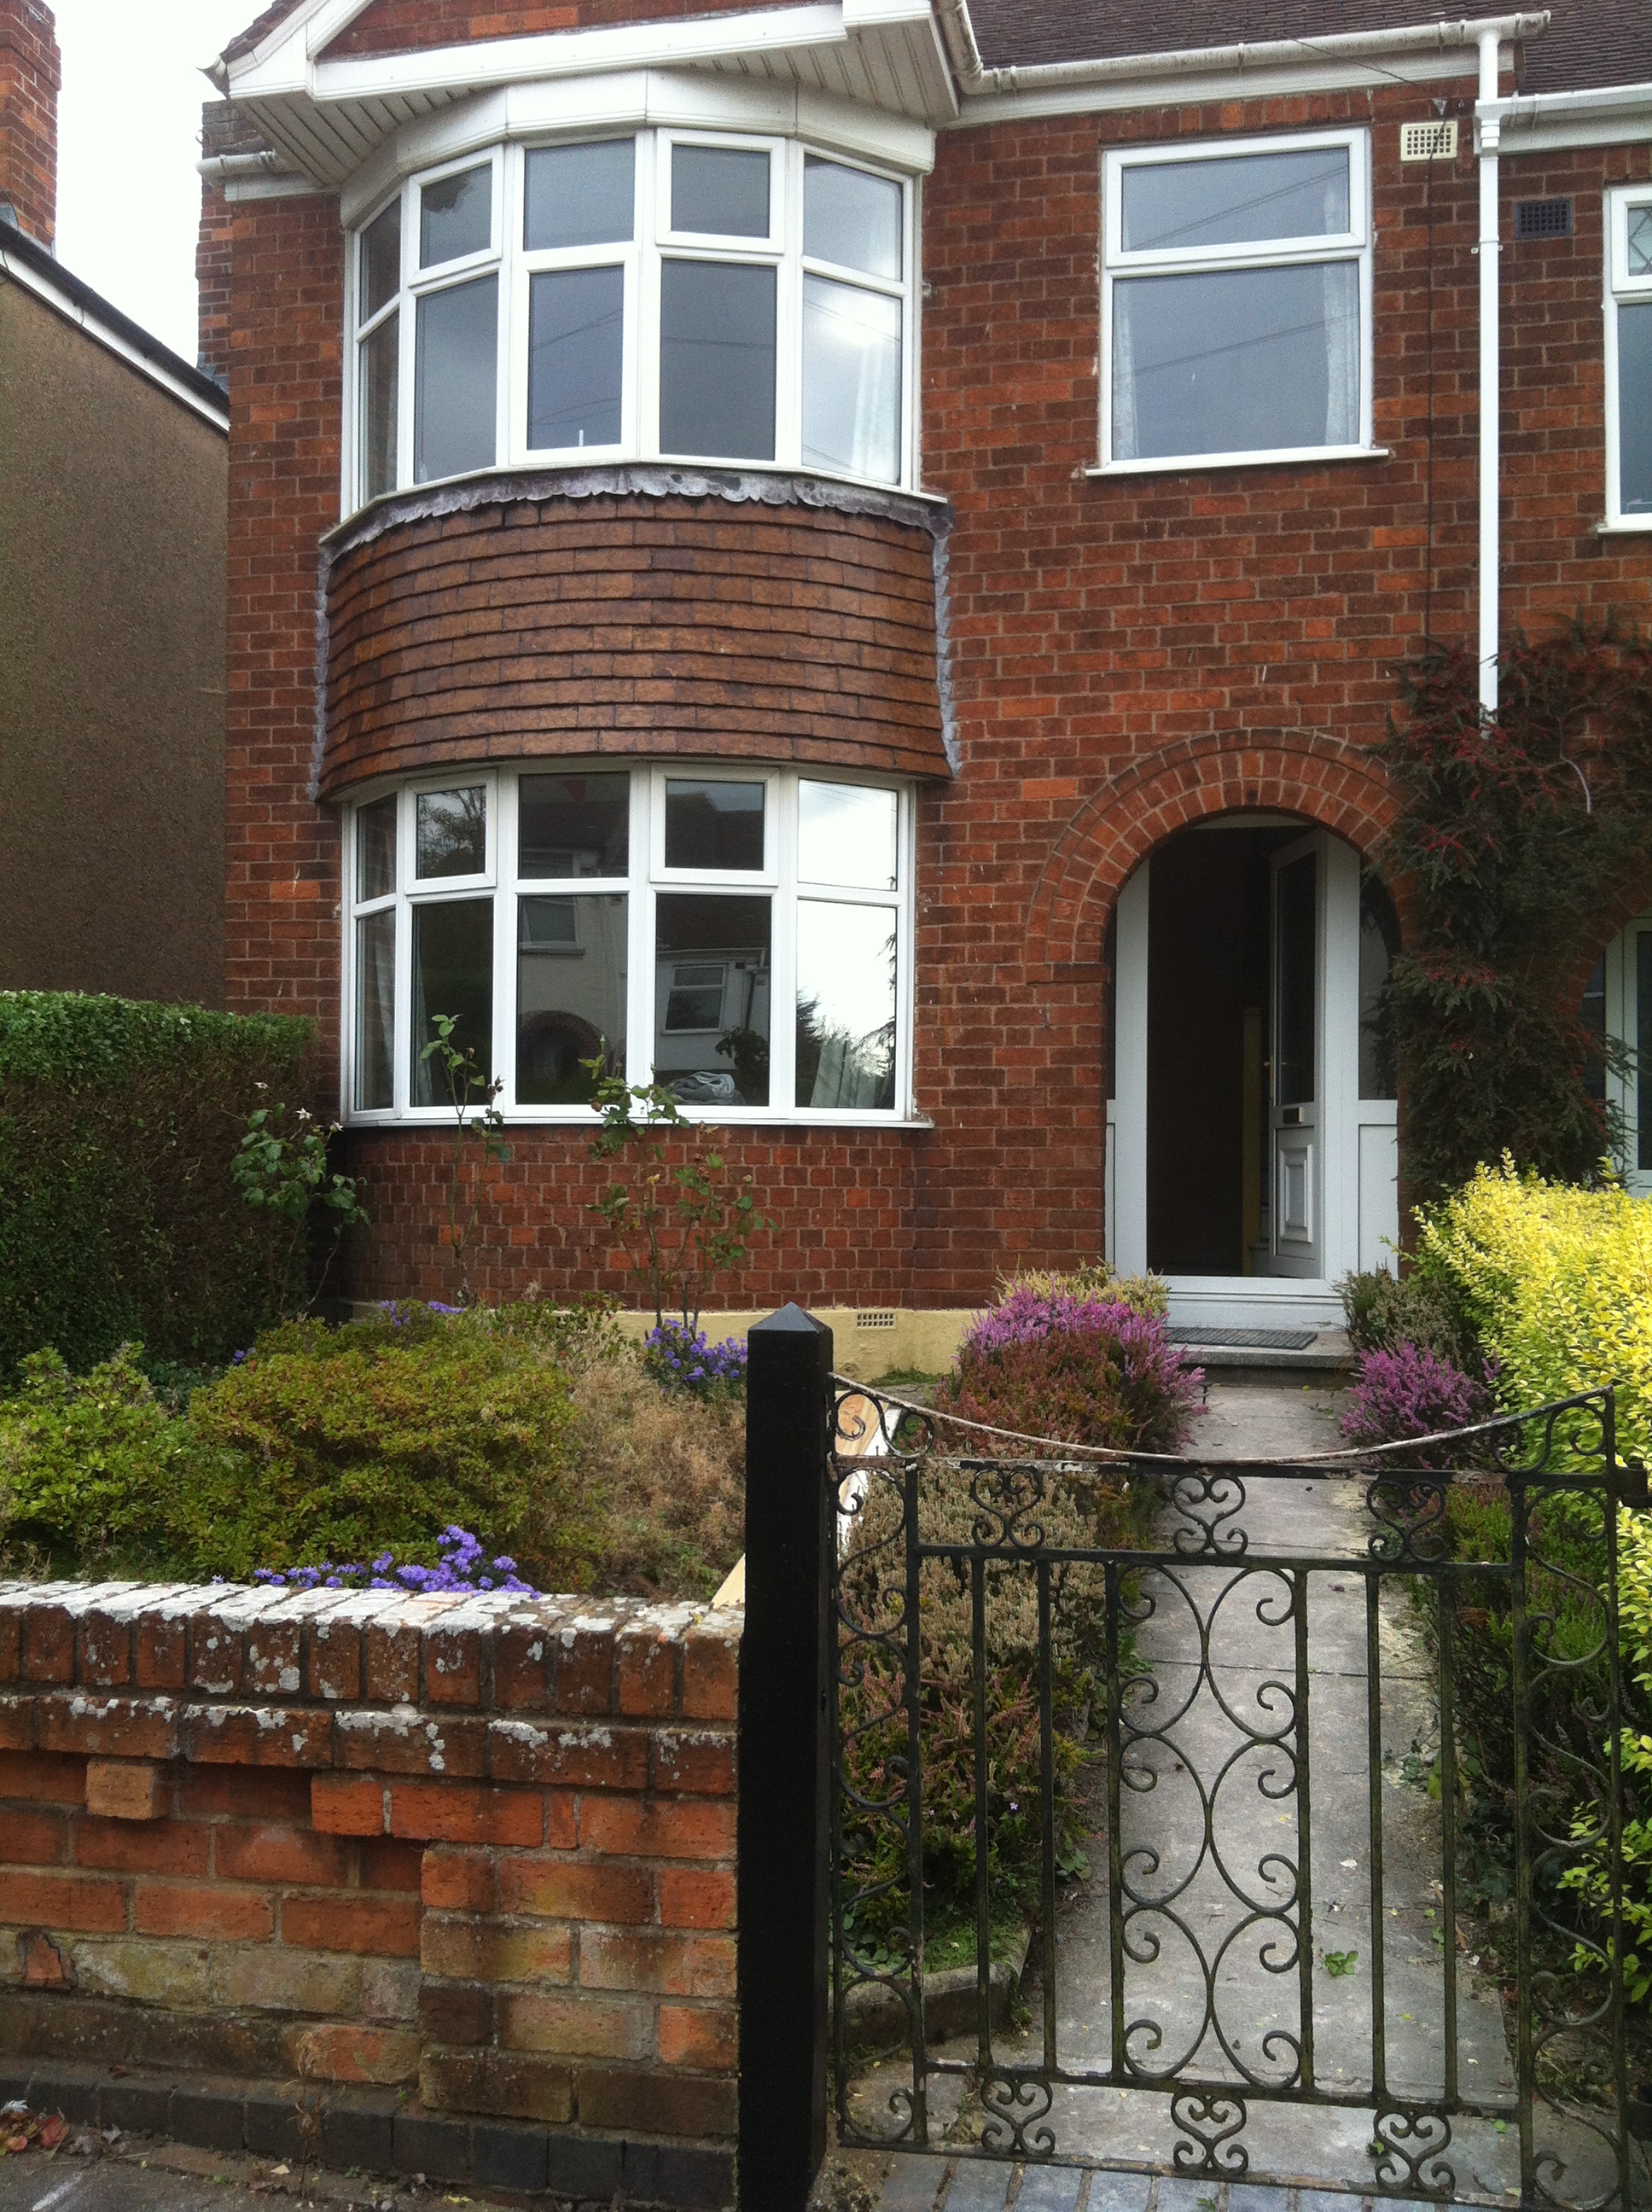
Take a look through the gallery; the first few images are traditional uses at our OAKLANDS development, but you'll also see I've used woodstain to freshen up some plant stands that we found on ebay for use as bedside table lamps (I dabbed splodges on to emulate bamboo art deco effect common in the 1920's). Then there's an example of where we've prettied-up nicely detailed brickwork exposed at the end of a hallway - the original servants entrance, now incorporated inside the building within a wide hallway - and also outside, on a pillar to disguise modern engineering bricks, and then finally, on a painted section of concrete bay tiles on my mate's 1930's end-terrace, where it transformed the street appeal (tile panel now looking more like cedar shingles?) for less than the cost of a pint!
My top tip is to stick with oak - it's the darkest colour in the range so covers best, and make sure you get at least three coats on before inviting opinions as it won't look any good at all before this. Don't be afraid to leave brushmarks, this adds to the effect, but always work in one direction to emulate timber graining - or if outside, perpendicular to the ground, to mimic the effect of weathering - and work quickly so as to avoid over-brushing (it dries quickly, particularly on a warm day).